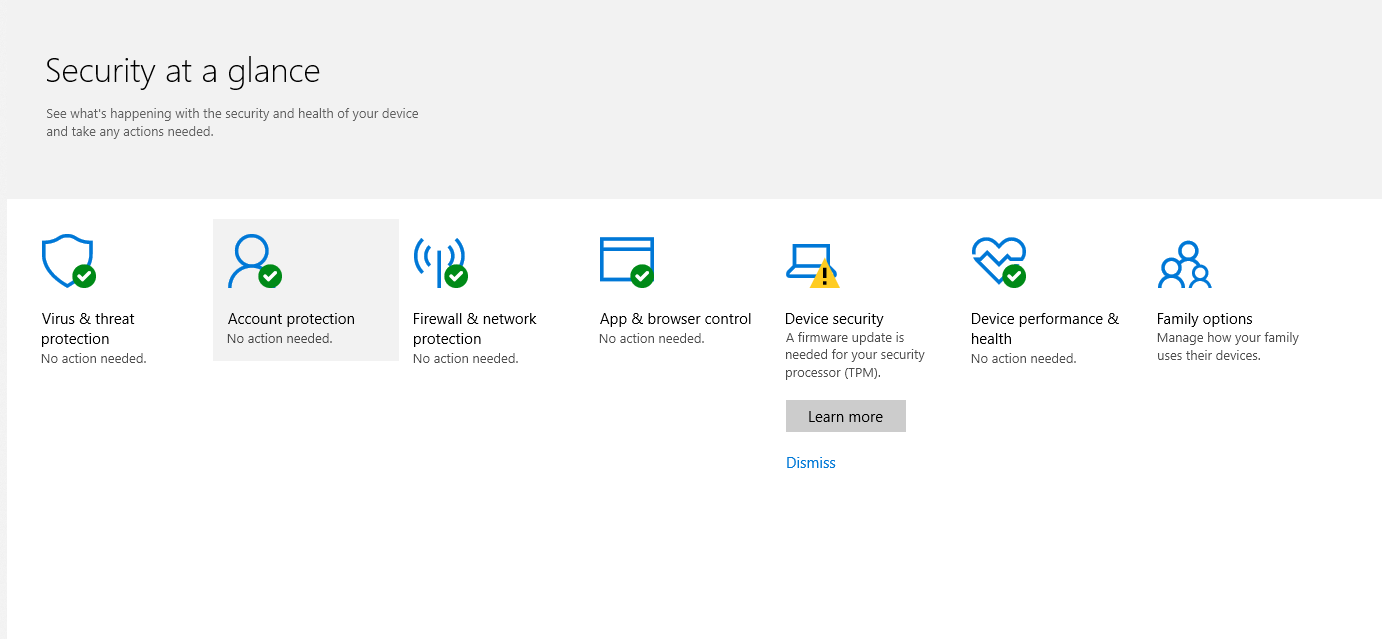
Last week Windows Defender Security Center alerted me to a firmware update of the security processor (TPM).

Clicking on Learn more took me to a support website of Microsoft containing a step by step guide and some information about the firmware update (see here). According to the guide I had to download the firmware update from the device manufacturers support website.
Important: As pointed out in the setup wizard of the downloaded .exe it just extracts some files to C:\SWSETUP\SOFTPAQ_NUMBER (in my case: C:\SWSETUP\SP82133) and does not install the firmware update.

Next the following steps have to be performed.
- Install latest Windows updates
- Enable TPM in BIOS, if not yet enabled
Hint: In my case I first had to set security level (as guest user) of TPM in BIOS (Security > Set Security Level) to write. After that I was able to enable TPM in BIOS with my user account.
- Go to the folder containing the firmware update (
C:\SWSETUP\SOFTPAQ_NUMBER)
- Open
Readme.html
- Make sure that all requirements listed in section
Requirements are met
- Read section
Important Notes
- Start executable according manual
- If you get asked to provide the Owner Password or a Owner Password Backup File and you don’t know it or don’t have it, follow the instructions under
Windows 10 ® Version 1607 and later to clear the TPM
WARNING: Clearing the TPM resets it to factory defaults. You will lose all created keys and data protected by those keys.

I'm a software engineer working at isolutions AG