Technology
Fine-tuning with NVIDIA NeMo AutoModel
In this item I show you the steps I took when I followed the Fine-tune with NeMo tutorial. In addition, I show you where I deviated from the the tutorial […]
 d-fens GmbH
Audit and Consulting of Information Systems and Business Processes
In this item I show you the steps I took when I followed the Fine-tune with NeMo tutorial. In addition, I show you where I deviated from the the tutorial […]
In this item I show you the steps I took when I followed the Fine-tune with NeMo tutorial. In addition, I show you where I deviated from the the tutorial and what was different from it. I could successfully complete the tutorial on these systems:
Both systems are “Blackwell” GPUs and the driver support varies. For example, I could not install Axolotl on either of these systems. There, aarch64 support was missing for a torch… library and on the other system, the Cuda capabilities were too high.
So, the good news is, that for these both systems, Nemo AutoModel starts “out of the box” …
Installation with docker is straight-forward. In the tutorial they start the image via docker. I created a docker-composel.yml. Both should work correctly.
I installed this newwer version of the (multi-arch) image:
nvcr.io/nvidia/nemo-automodel:26.04
I created a docker-compose.yml and mounted volumes for:
services: automodel: image: nvcr.io/nvidia/nemo-automodel:26.04 container_name: automodel user: "0:0" volumes: - /data/nvidia/models:/models - /data/nvidia/datasets:/datasets - /data/nvidia/workspace:/workspace - /data/nvidia/results:/results - /data/nvidia/hf_cache:/root/.cache/huggingface - /data/automodel/checkpoints:/opt/Automodel/checkpoints working_dir: /workspace ipc: host ulimits: memlock: -1 stack: 67108864 deploy: resources: reservations: devices: - driver: nvidia count: all capabilities: [gpu] tty: true stdin_open: true entrypoint: /usr/bin/bash environment: - TRANSFORMER_ENGINE_PTE=1 - NVIDIA_VISIBLE_DEVICES=all
NOTE: When I started the scripts, I added HF_TOKEN to the current shell With this, the Huggingface downloader did not ask to token information.
I use automodel or (am) instead of examples/llm_finetune/finetune.py:
cd /opt/Automodelautomodel --nproc-per-node 4 \examples/llm_finetune/llama3_2/llama3_2_1b_squad_peft.yaml \--model.pretrained_model_name_or_path meta-llama/Llama-3.1-8B \--packed_sequence.packed_sequence_size 1024 \--step_scheduler.max_steps 20
Something suprised me: when I enter the path to the yaml configuration with an absolute path (“/”), automodel could not find the config file. Therefore, I had to specify the relative path.
When I started the fine-tuning commands, the programme showed different warnings, but did not stop.
I got these warnings on the aarch64 system:
/usr/local/lib/python3.12/dist-packages/torch/cuda/__init__.py:61: FutureWarning: The pynvml package is deprecated. Please install nvidia-ml-py instead. If you did not install pynvml directly, please report this to the maintainers of the package that installed pynvml for you. import pynvml # type: ignore[import]/opt/venv/lib/python3.12/site-packages/pydantic/_internal/_generate_schema.py:2249: UnsupportedFieldAttributeWarning: The 'repr' attribute with value False was provided to the `Field()` function, which has no effect in the context it was used. 'repr' is field-specific metadata, and can only be attached to a model field using `Annotated` metadata or by assignment. This may have happened because an `Annotated` type alias using the `type` statement was used, or if the `Field()` function was attached to a single member of a union type. warnings.warn(/opt/venv/lib/python3.12/site-packages/pydantic/_internal/_generate_schema.py:2249: UnsupportedFieldAttributeWarning: The 'frozen' attribute with value True was provided to the `Field()` function, which has no effect in the context it was used. 'frozen' is field-specific metadata, and can only be attached to a model field using `Annotated` metadata or by assignment. This may have happened because an `Annotated` type alias using the `type` statement was used, or if the `Field()` function was attached to a single member of a union type. warnings.warn(cfg-path: examples/llm_finetune/qwen/qwen3_8b_squad_spark.yaml
/usr/local/lib/python3.12/dist-packages/torch/distributed/device_mesh.py:604: UserWarning: Slicing a flattened dim from root mesh will be deprecated in PT 2.11. Users need to bookkeep the flattened mesh directly. sliced_mesh_layout = self._get_slice_mesh_layout(mesh_dim_names)
And I got additional warnings on the x86_64 system:
/opt/Automodel/nemo_automodel/components/models/llama/model.py:338: FutureWarning: `input_embeds` is deprecated and will be removed in version 5.6.0 for `create_causal_mask`. Use `inputs_embeds` instead. causal_mask = create_causal_mask(/usr/local/lib/python3.12/dist-packages/torch/distributed/device_mesh.py:604: UserWarning: Slicing a flattened dim from root mesh will be deprecated in PT 2.11. Users need to bookkeep the flattened mesh directly. sliced_mesh_layout = self._get_slice_mesh_layout(mesh_dim_names)/opt/Automodel/nemo_automodel/components/models/llama/model.py:338: FutureWarning: `input_embeds` is deprecated and will be removed in version 5.6.0 for `create_causal_mask`. Use `inputs_embeds` instead. causal_mask = create_causal_mask(
Here for me the most interesting part is the torch version. Because with Axolotl I could not get a version that would support CUDA 13.x and Cuda 12.1 capabilities. But maybe I did something wrong. Who knows?
nemo_automodel: 0.4.0+9687b04c (/opt/Automodel/nemo_automodel/__init__.py)transformers: 5.5.0 (/opt/venv/lib/python3.12/site-packages/transformers/__init__.py)torch: 2.11.0a0+eb65b36914.nv26.02 CUDA 13.1
Both systems are not _optimised_ in any way. I just ran the examples on the tutorial. Certainly the RTX Pro 6000 was faster (which had nothing to do with the amount of VRAM). Maybe because the GPU alone is nearly double the price of the complete GB10 / DGX system?
meta-llama/Llama-3.1-8BGB10 around 45 seconds per step
RTX Pro 6000 around 11 seconds per step (1 GPU) (tps 5589.07)
RTX Pro 6000 around 6 seconds per step (2 GPU) (tps 9882.63(4941.31/gpu))
RTX Pro 6000 around 3 seconds per step (4 GPU) (tps 19221.33 (4805.33/gpu))
meta-llama/Meta-Llama-3-70BGB10 around 251 seconds per step (tps 115.15)
RTX Pro 6000 around 53 seconds per step (1 GPU) (tps 555.74(555.74/gpu))
RTX Pro 6000 around 47 seconds per step (2 GPU) (tps 639.61(319.81/gpu))
RTX Pro 6000 around 27 seconds per step (4 GPU) (tps 1088.10(272.03/gpu))
Qwen/Qwen3-8BGB10 around 87 seconds per step
RTX Pro 6000 around 17 seconds per step (1 GPU) (tps 3215)
RTX Pro 6000 around 38 seconds per step (2 GPU) (tps 1535.73(767.86/gpu))
RTX Pro 6000 around 22 seconds per step (4 GPU) (tps 2680.50 (670.13/gpu))
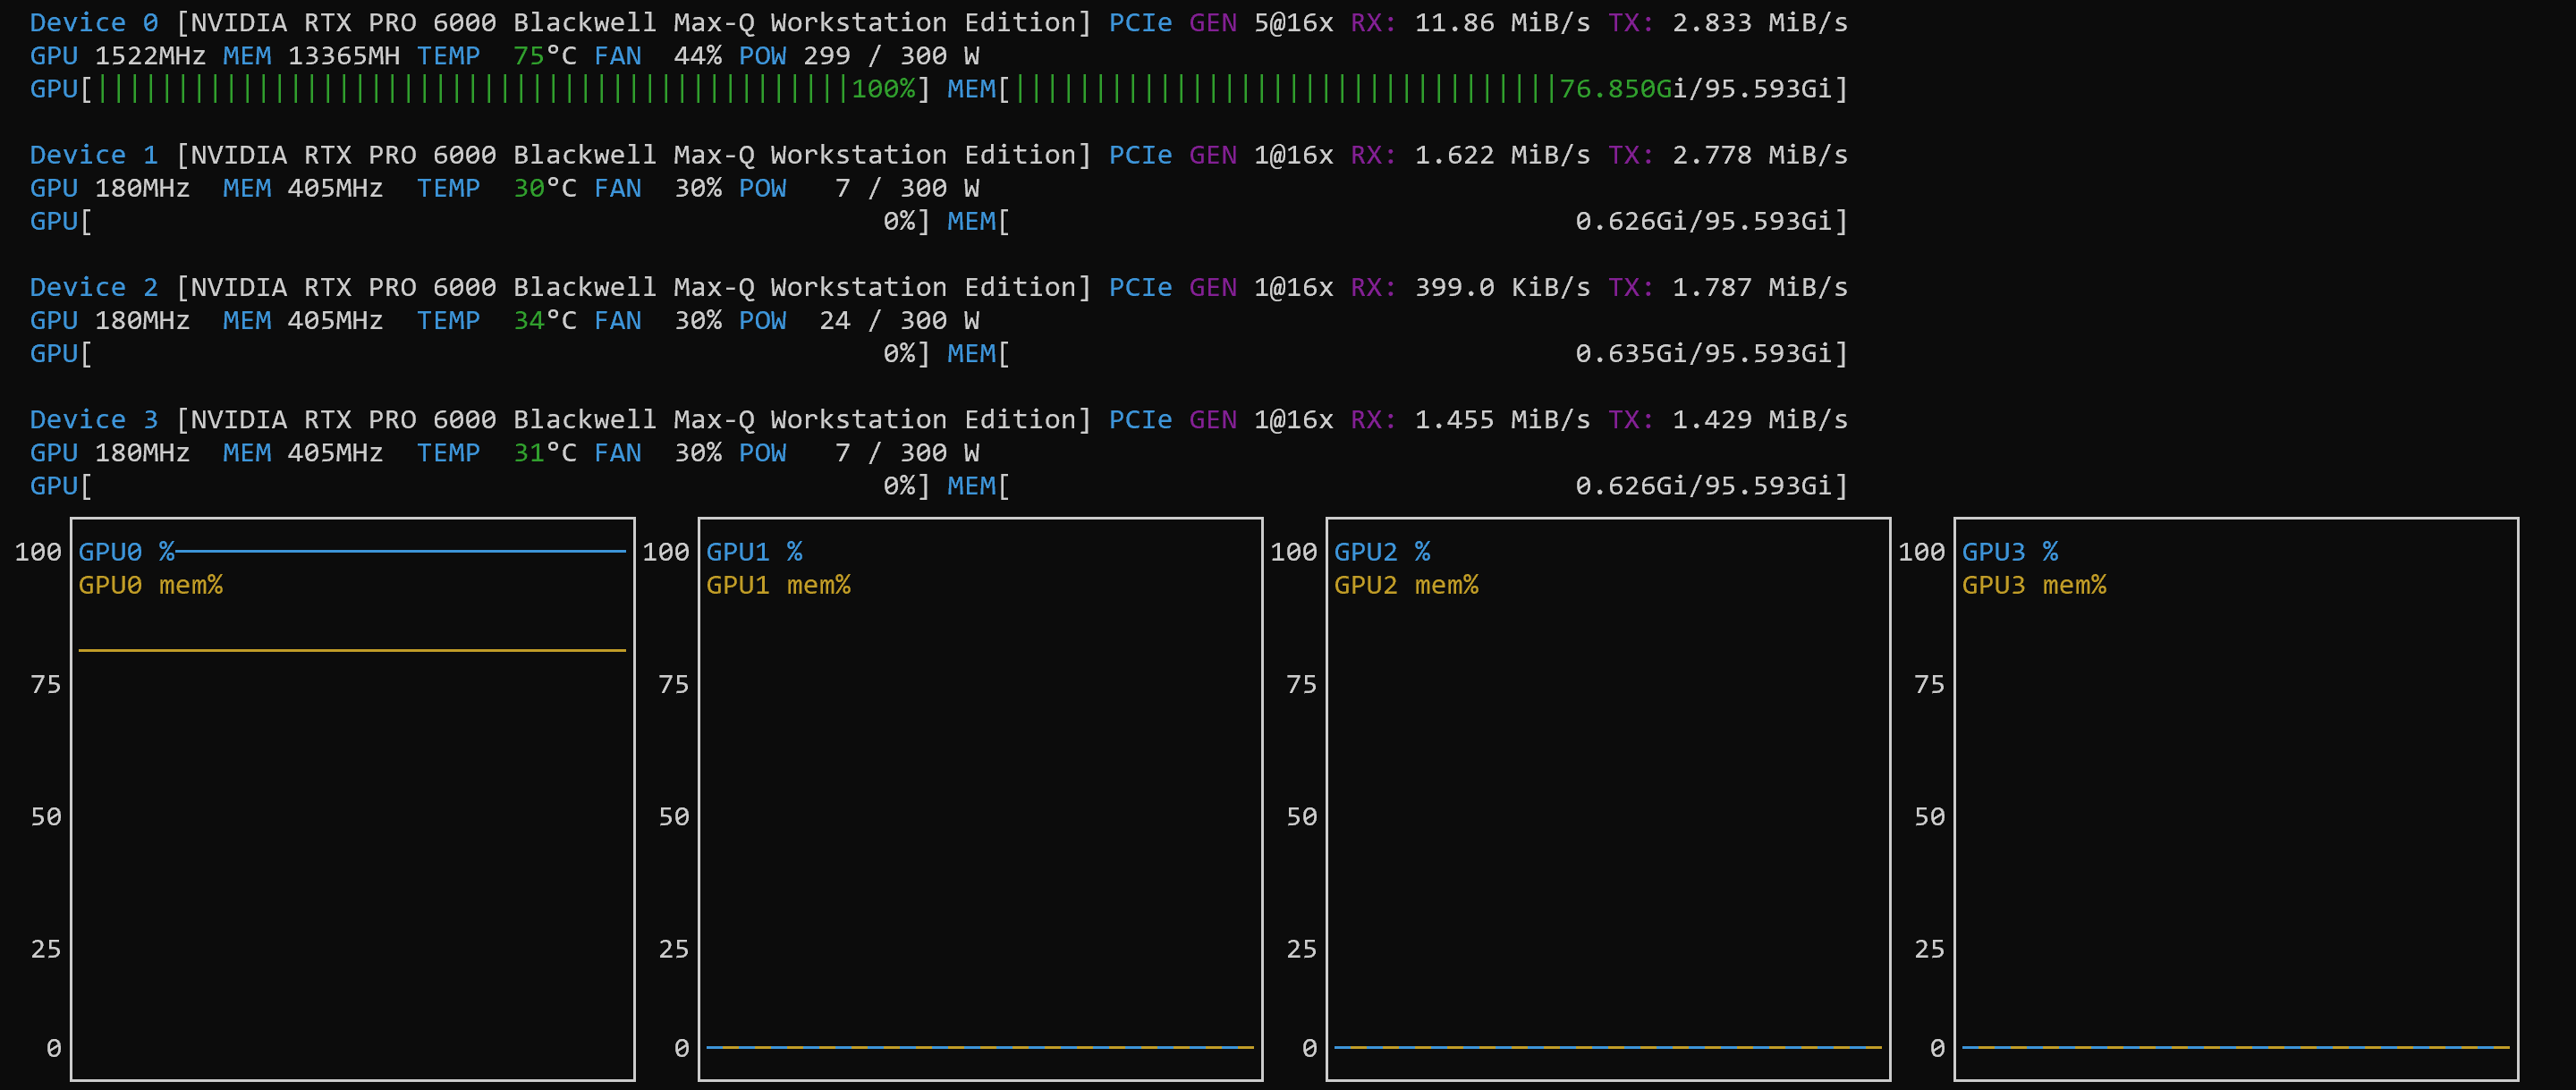
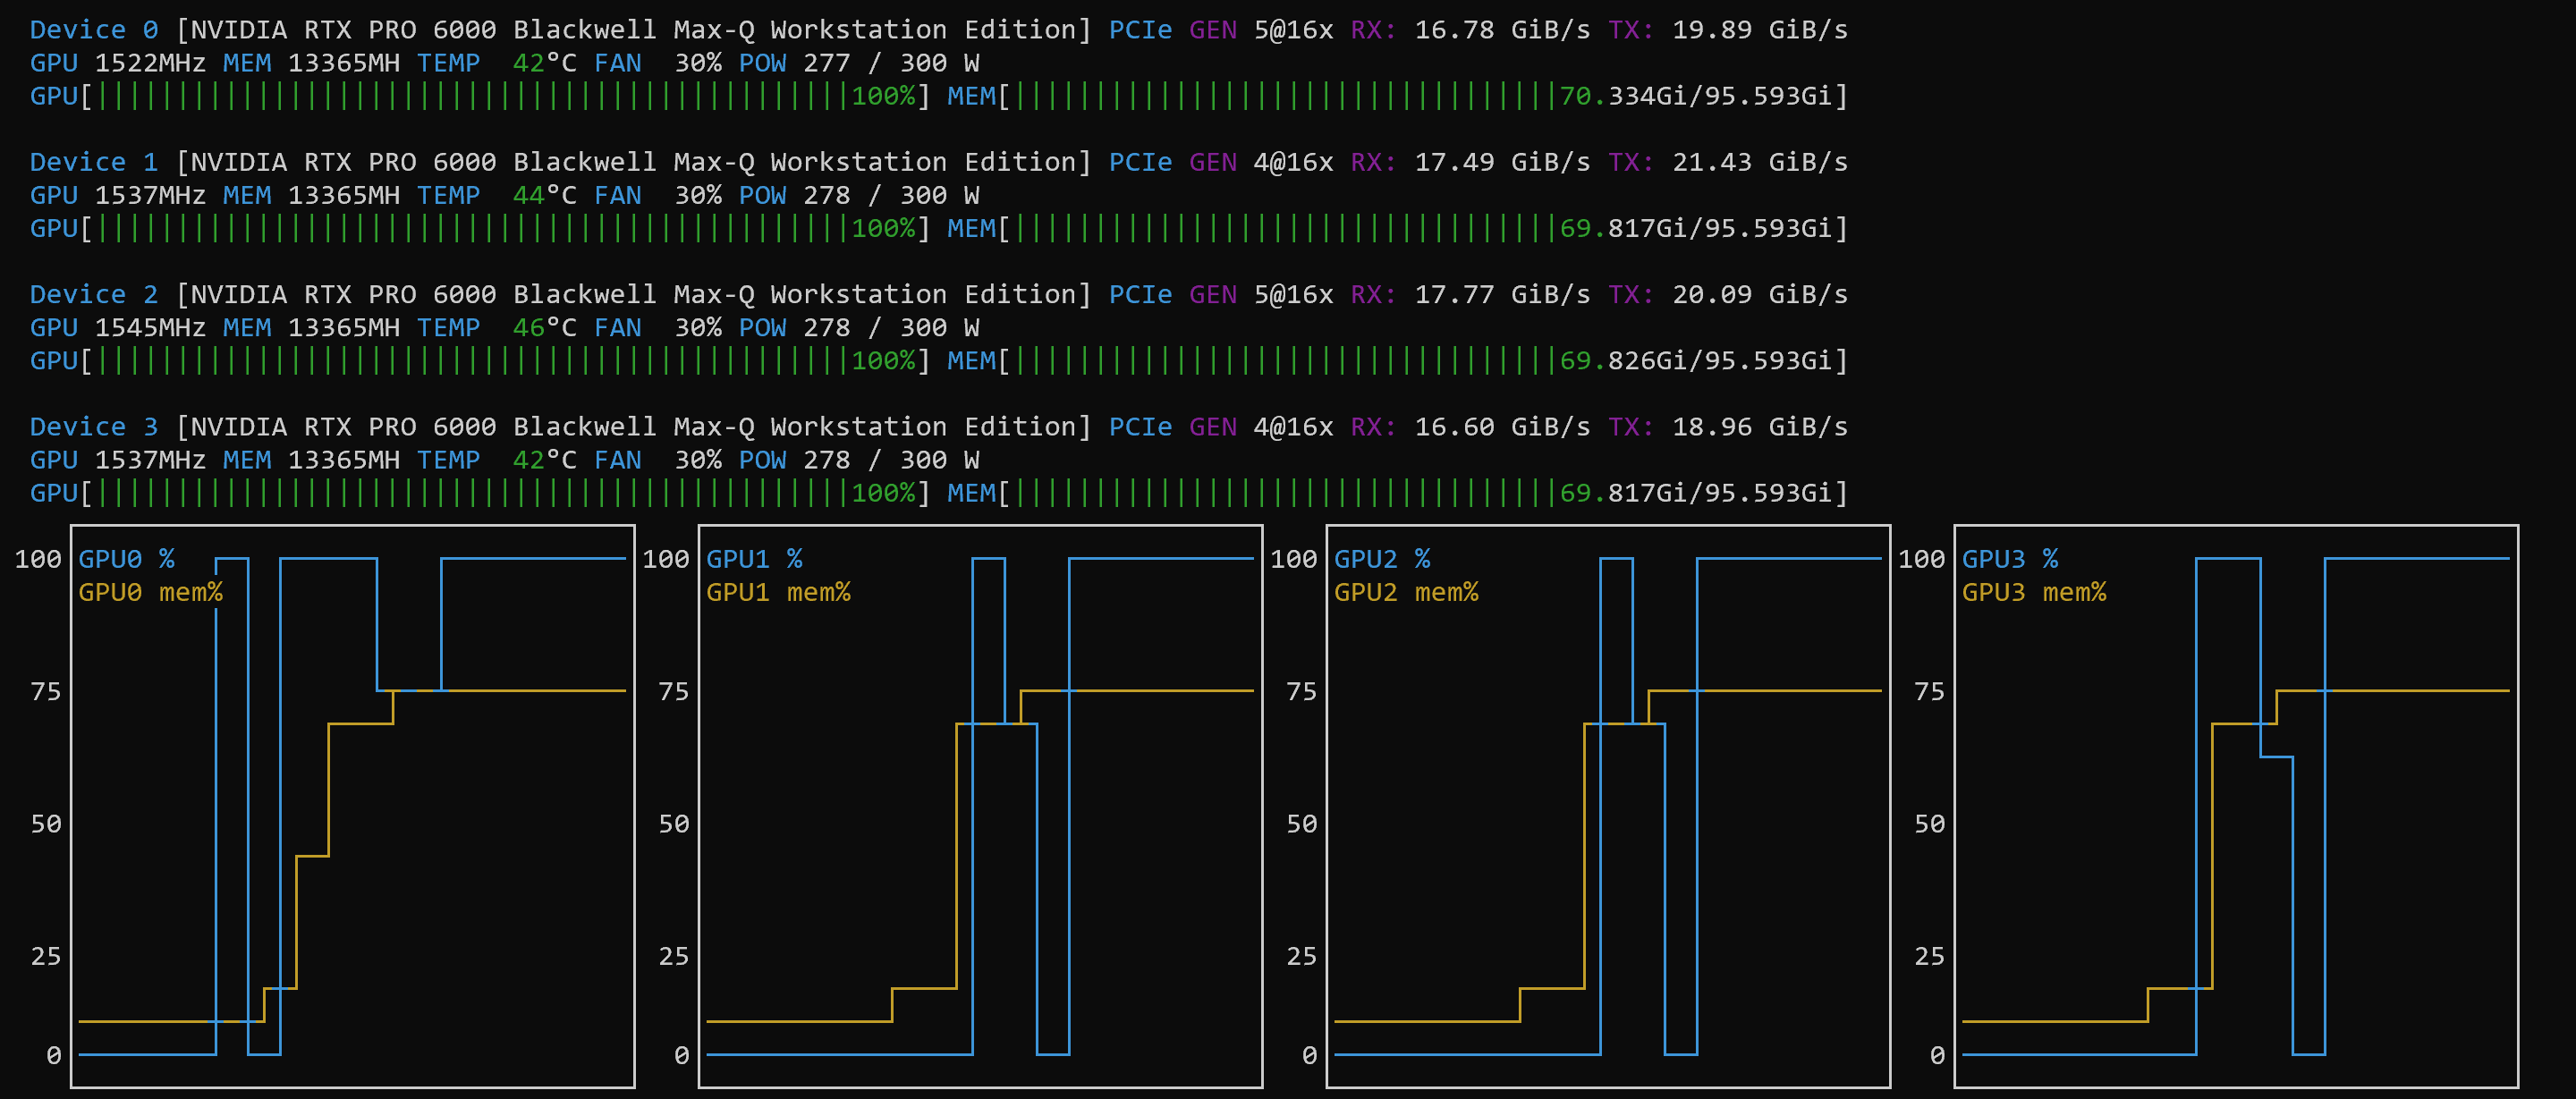
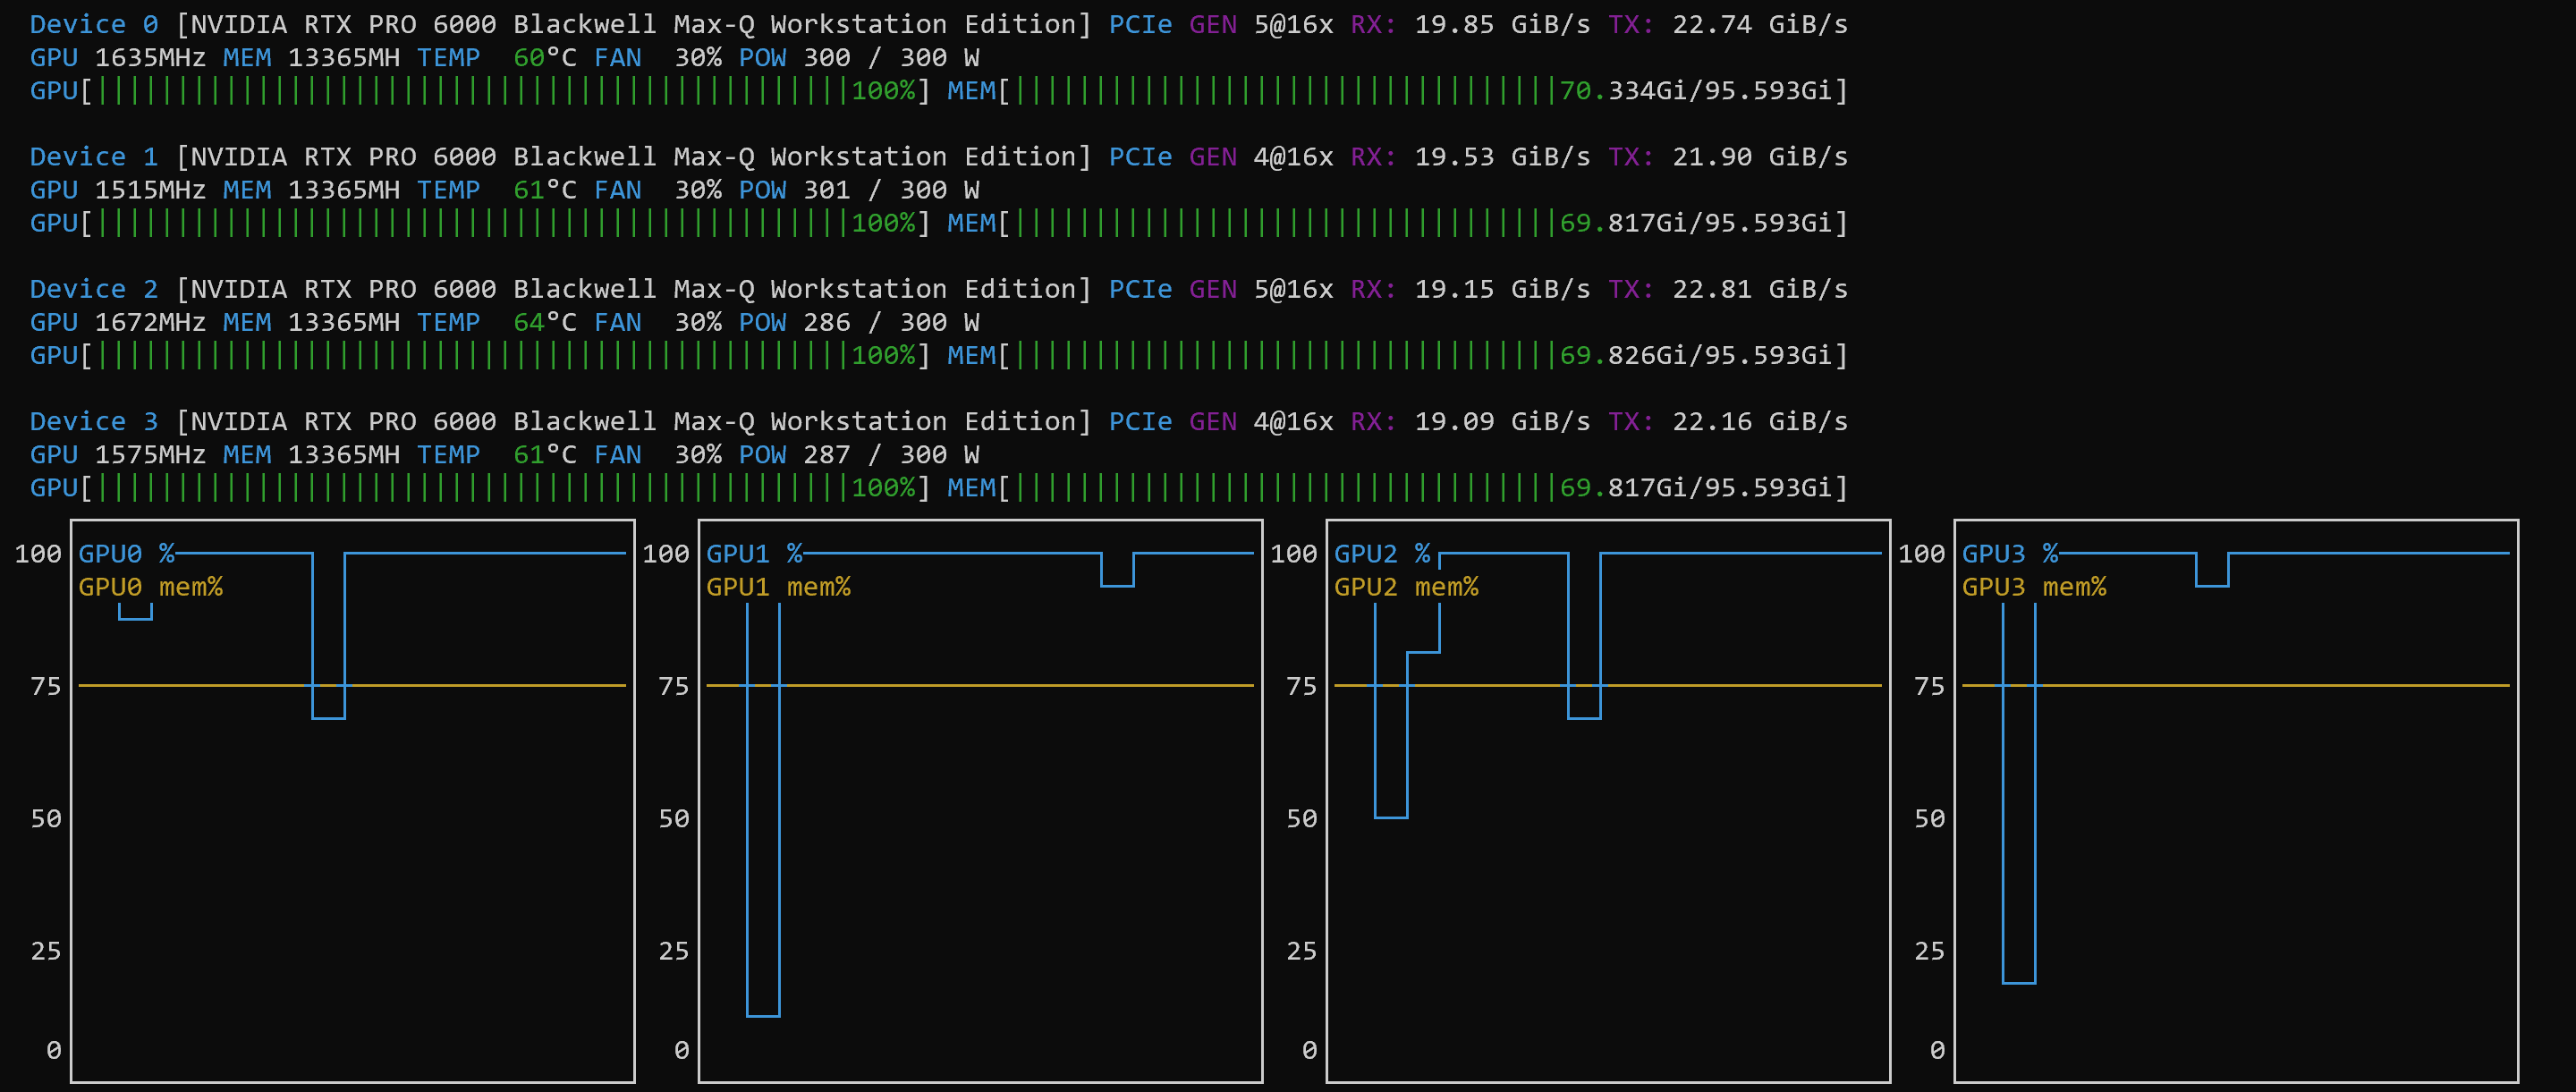
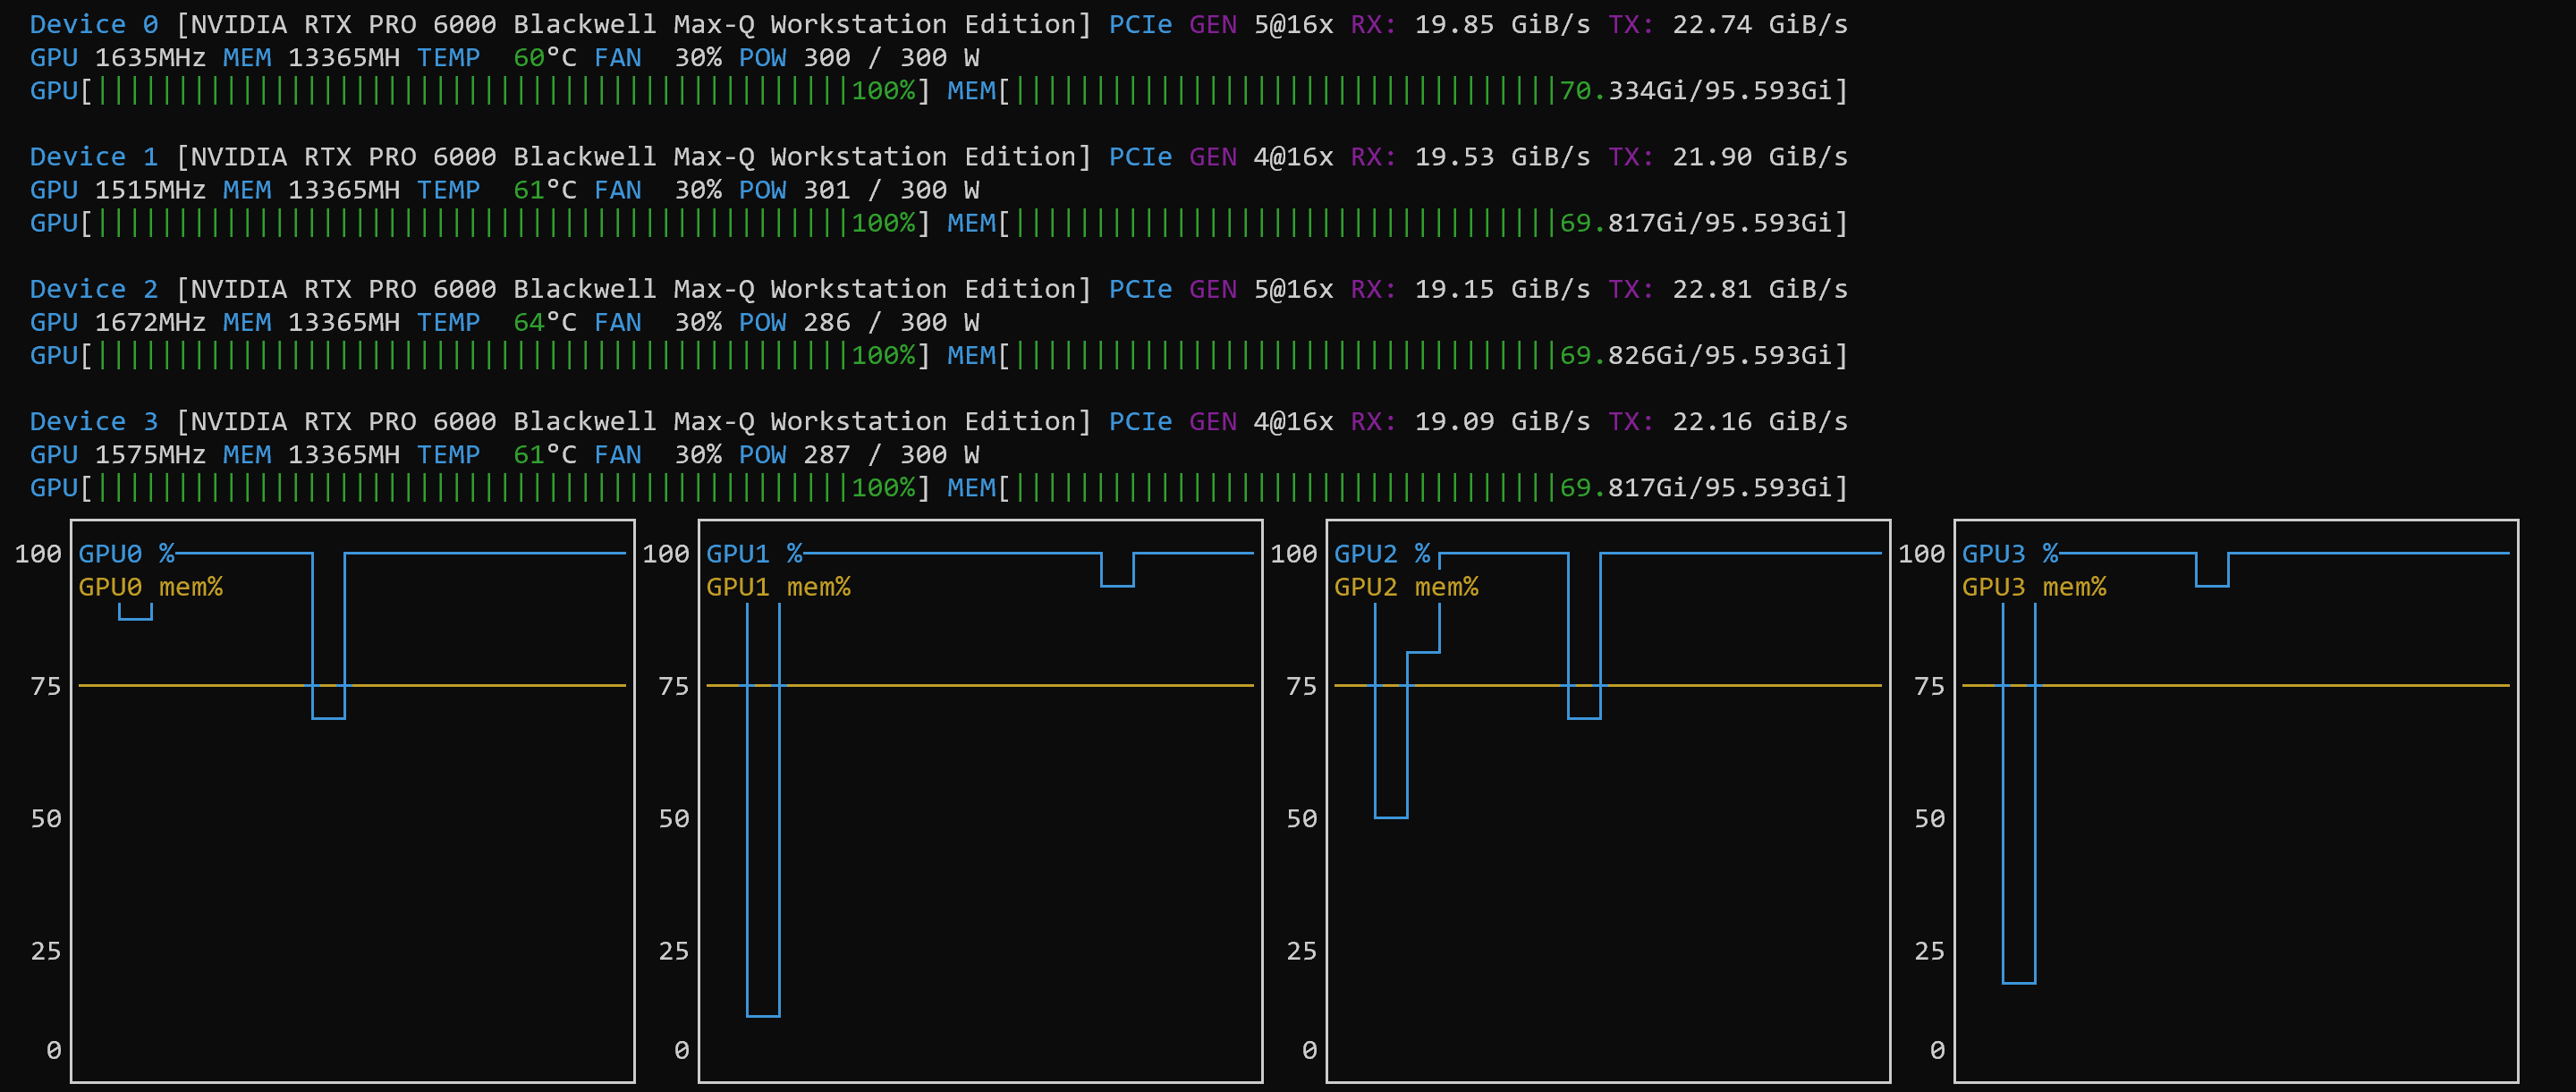
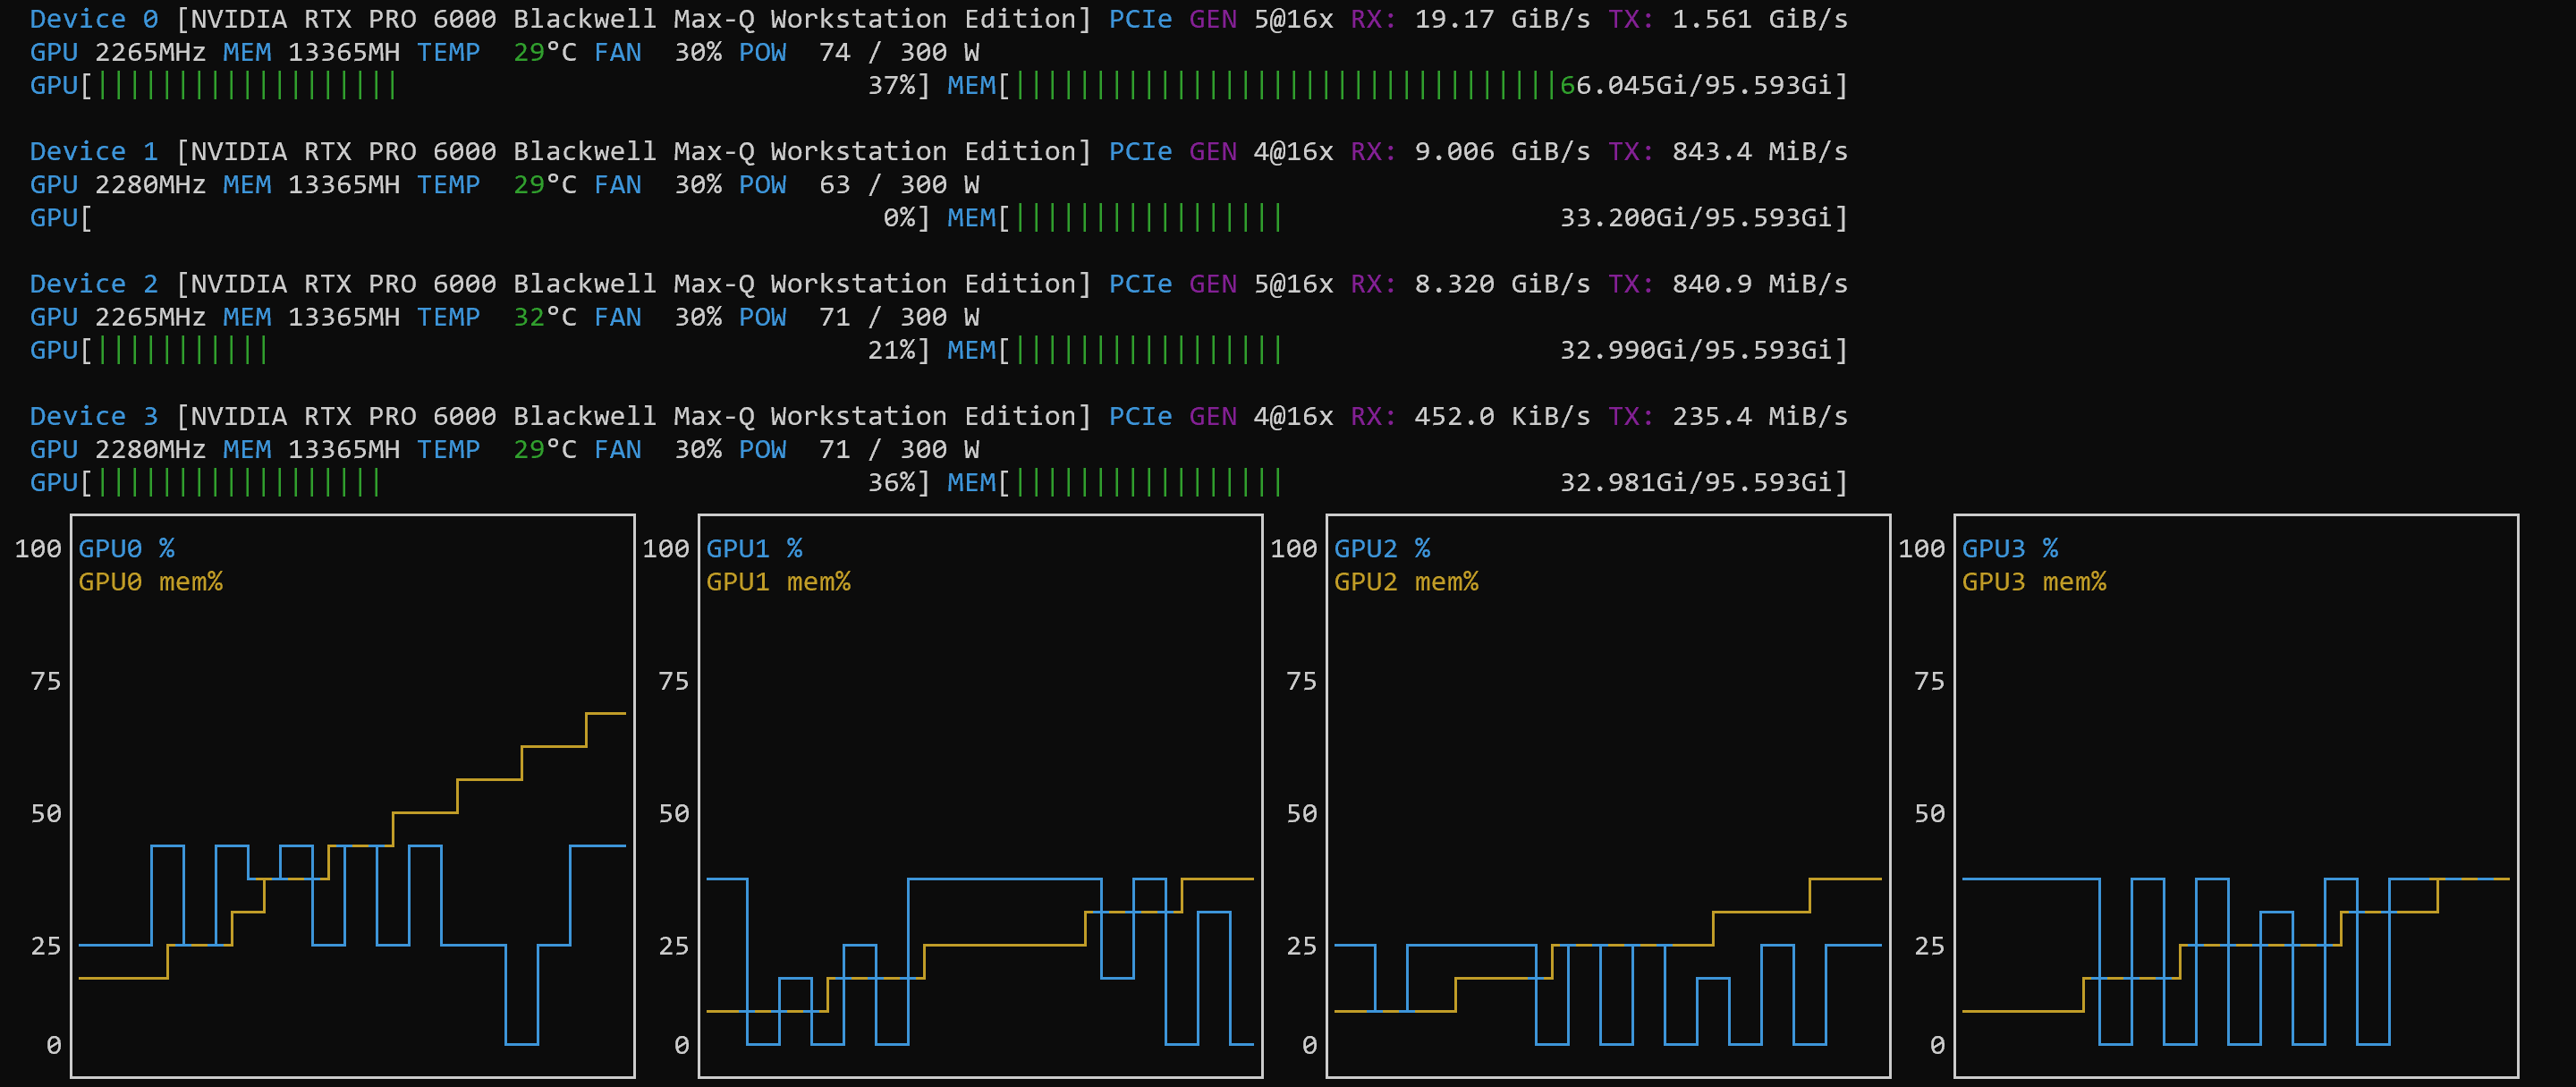
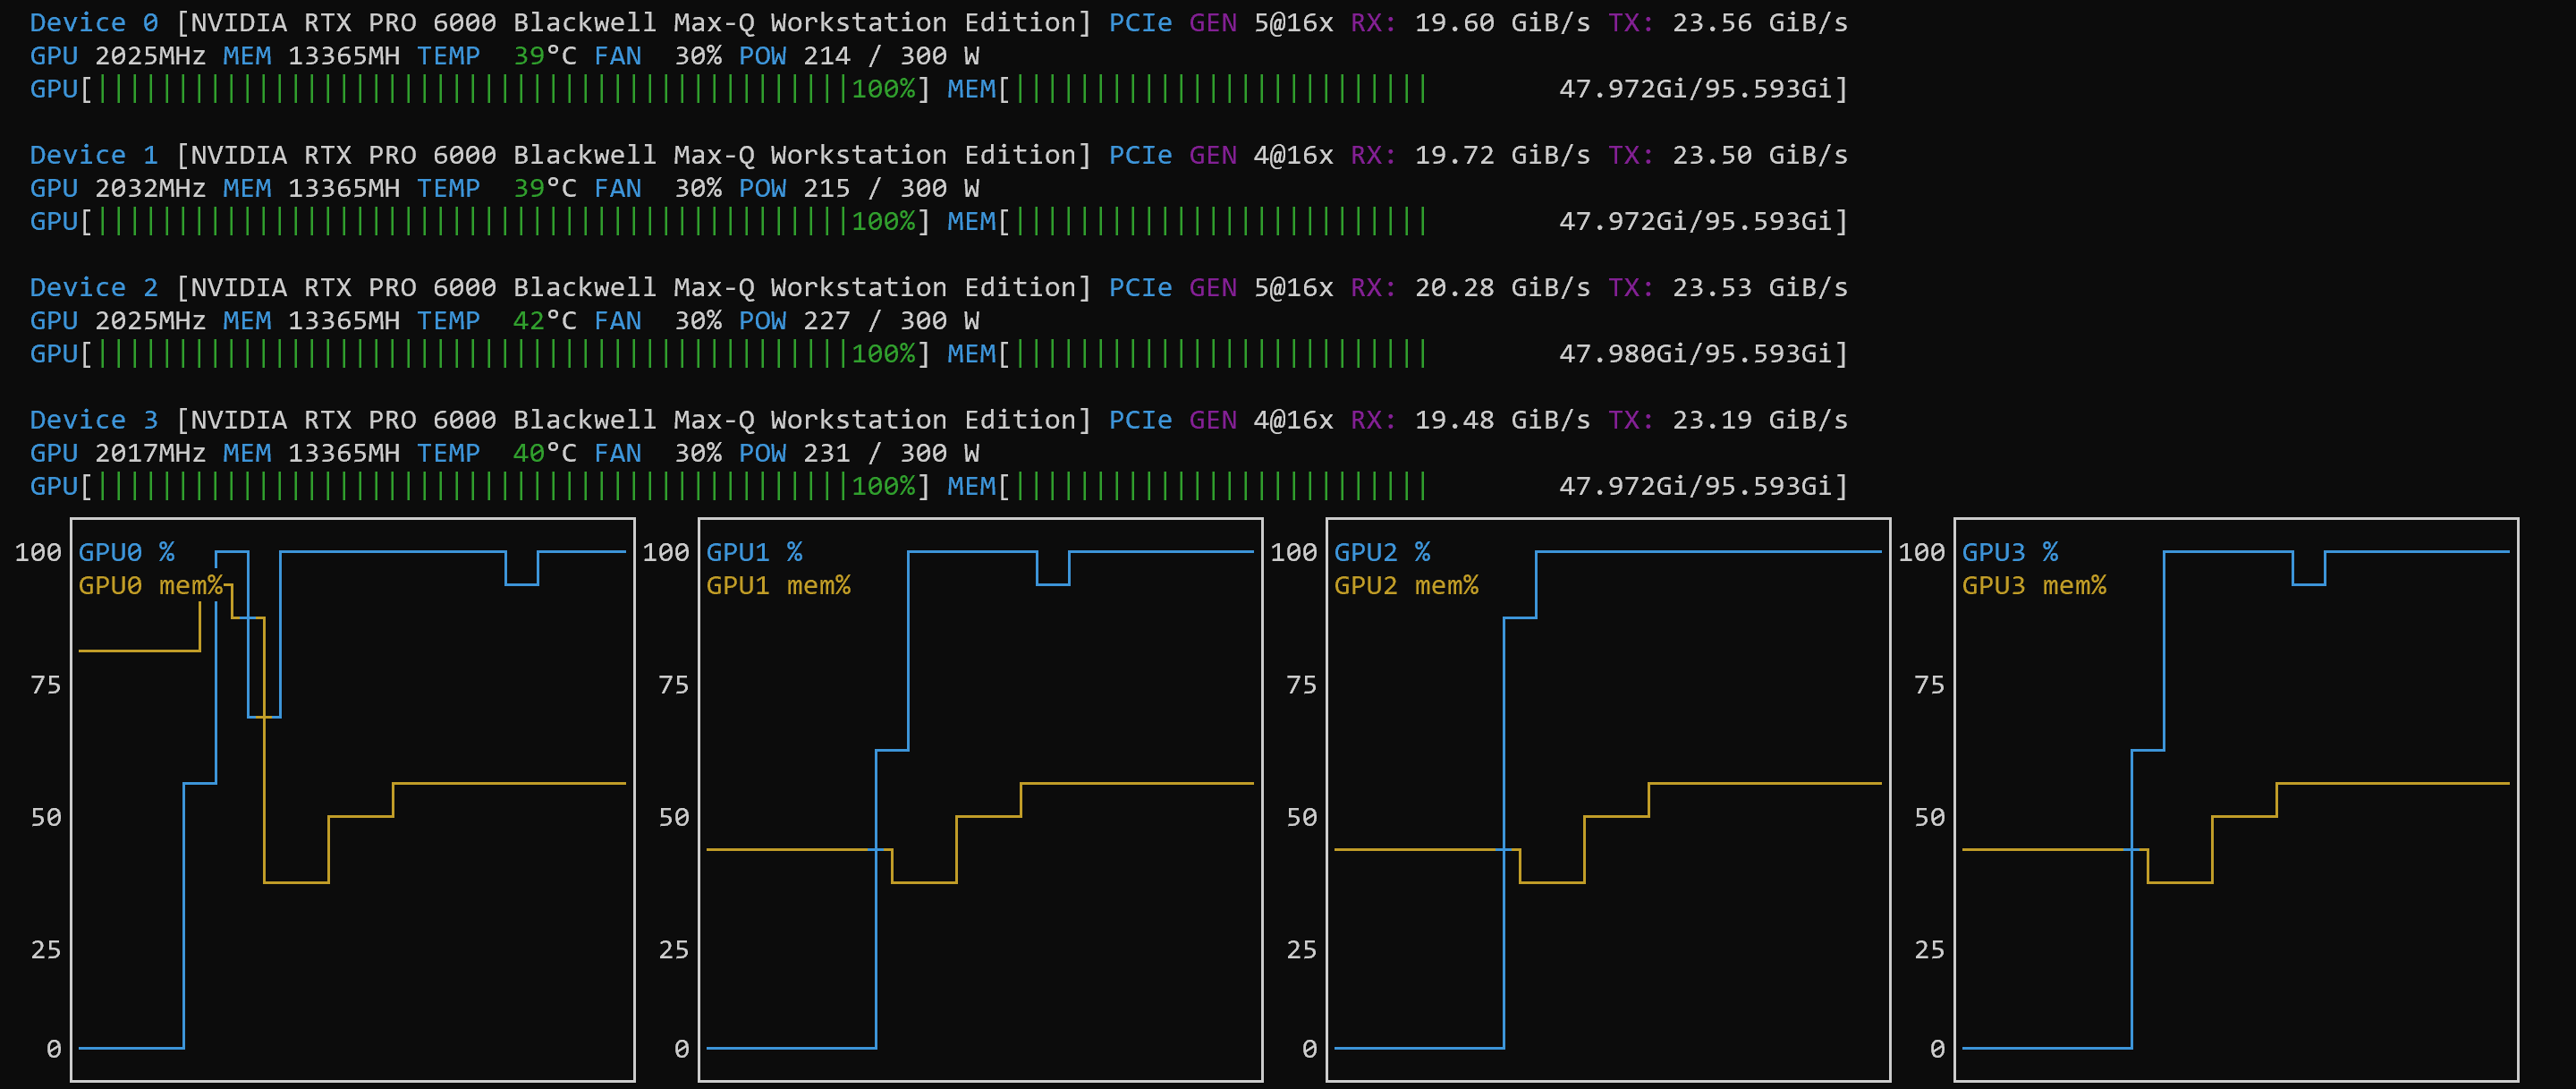
NOTE: the power consumption on each GPU was only at 50% to 60% – it seems that the PCI bus was the bottleneck)
nvcc: NVIDIA (R) Cuda compiler driverCopyright (c) 2005-2025 NVIDIA CorporationBuilt on Wed_Aug_20_01:57:39_PM_PDT_2025Cuda compilation tools, release 13.0, V13.0.88Build cuda_13.0.r13.0/compiler.36424714_0Device 0 [NVIDIA GB10] PCIe GEN 1@ 1x RX: N/A TX: N/AGPU 208MHz MEM N/A MHz TEMP 33°C FAN N/A POW 3 WGPU[ 0%] MEM[ N/A/119.631Gi]+-----------------------------------------------------------------------------------------+| NVIDIA-SMI 580.159.03 Driver Version: 580.159.03 CUDA Version: 13.0 |+-----------------------------------------+------------------------+----------------------+| GPU Name Persistence-M | Bus-Id Disp.A | Volatile Uncorr. ECC || Fan Temp Perf Pwr:Usage/Cap | Memory-Usage | GPU-Util Compute M. || | | MIG M. ||=========================================+========================+======================|| 0 NVIDIA GB10 On | 0000000F:01:00.0 Off | N/A || N/A 33C P8 3W / N/A | Not Supported | 0% Default || | | N/A |+-----------------------------------------+------------------------+----------------------+
nvcc: NVIDIA (R) Cuda compiler driverCopyright (c) 2005-2025 NVIDIA CorporationBuilt on Tue_Dec_16_07:23:41_PM_PST_2025Cuda compilation tools, release 13.1, V13.1.115Build cuda_13.1.r13.1/compiler.37061995_0Device 0 [NVIDIA RTX PRO 6000 Blackwell Max-Q Workstation Edition] PCIe GEN 1@16x RX: 4.962 MiB/s TX: 754.0 KiB/sGPU 180MHz MEM 405MHz TEMP 30°C FAN 30% POW 7 / 300 WGPU[ 0%] MEM[| 1.171Gi/95.593Gi]Device 1 [NVIDIA RTX PRO 6000 Blackwell Max-Q Workstation Edition] PCIe GEN 1@16x RX: 1.546 MiB/s TX: 2.764 MiB/sGPU 180MHz MEM 405MHz TEMP 31°C FAN 30% POW 6 / 300 WGPU[ 0%] MEM[ 0.626Gi/95.593Gi]Device 2 [NVIDIA RTX PRO 6000 Blackwell Max-Q Workstation Edition] PCIe GEN 1@16x RX: 439.0 KiB/s TX: 528.0 KiB/sGPU 180MHz MEM 405MHz TEMP 35°C FAN 30% POW 22 / 300 WGPU[ 0%] MEM[ 0.635Gi/95.593Gi]Device 3 [NVIDIA RTX PRO 6000 Blackwell Max-Q Workstation Edition] PCIe GEN 1@16x RX: 1.220 MiB/s TX: 1.501 MiB/sGPU 180MHz MEM 405MHz TEMP 32°C FAN 30% POW 8 / 300 WGPU[ 0%] MEM[ 0.626Gi/95.593Gi]+-----------------------------------------------------------------------------------------+| NVIDIA-SMI 595.71.05 Driver Version: 595.71.05 CUDA Version: 13.2 |+-----------------------------------------+------------------------+----------------------+| GPU Name Persistence-M | Bus-Id Disp.A | Volatile Uncorr. ECC || Fan Temp Perf Pwr:Usage/Cap | Memory-Usage | GPU-Util Compute M. || | | MIG M. ||=========================================+========================+======================|| 0 NVIDIA RTX PRO 6000 Blac... On | 00000000:16:00.0 Off | Off || 30% 30C P8 6W / 300W | 562MiB / 97887MiB | 0% Default || | | N/A |+-----------------------------------------+------------------------+----------------------+| 1 NVIDIA RTX PRO 6000 Blac... On | 00000000:34:00.0 Off | Off || 30% 31C P8 5W / 300W | 4MiB / 97887MiB | 0% Default || | | N/A |+-----------------------------------------+------------------------+----------------------+| 2 NVIDIA RTX PRO 6000 Blac... On | 00000000:AC:00.0 Off | Off || 30% 35C P8 23W / 300W | 4MiB / 97887MiB | 0% Default || | | N/A |+-----------------------------------------+------------------------+----------------------+| 3 NVIDIA RTX PRO 6000 Blac... On | 00000000:CA:00.0 Off | Off || 30% 32C P8 8W / 300W | 4MiB / 97887MiB | 0% Default || | | N/A |+-----------------------------------------+------------------------+----------------------+
So, this was not really an “article” in itself, but a quick listing of the settings and a confirmation that the tutorial works with these (at the time of this writing fairly new Blackwell) systems.

I am a senior auditor, consultant and architect at d-fens for business processes and information systems.


